
Inspiration can strike at any moment.
And when it does you have to be ready to just take it - and run.
Why?
Because if you don't, you can miss out on baking things like Honey Ricotta Stuffed Figs.
Actually, let me raise the stakes a little bit...
If you don't, you can miss out on creating things like Nat's Adventures In Baking.
I don't really remember what inspired me to finally sit down and open a blogger account.
I've always loved to bake.
Instead of waking up early on Saturday mornings to watch cartoons, I'd be making muffins and bothering my poor mother while she tried to get her well-deserved eight hours of sleep.
They weren't always good...or ever...for that matter, but I still loved it. And to this day, I blame the recipe, not my ten-year-old lack of skills.
Flash forward to 2010.
I'm pretty sure it was Bestie who finally convinced me to do it.
Chronicle my baking escapades? Alright. Why not?
What I wanted was "Adventures In Baking."
But some over-excited blogger had already scooped up that name.
I say over-excited, because now their site is about...not baking...and goes by a different title. Way to hog the goods there guys, thanks.
But that's besides the point, what's actually important is the fact that I ended up adding my nickname "Nat."
I had never once...until that moment...referred to myself as anything other than my legal name, Natalie.
Not Natty.
Or Noodles.
Or Nanny.
Or, the one that seems to follow me wherever I go...Nat.
But for some reason, at that moment, when blogger asked me a most poignant question:
"what. is. your. blog. name?"
I added "Nat."
At first, it was just my way of saying "nah, nah. nah, nah, nah!" I still get my title! But eventually, I realized that Nat's Adventures In Baking is a whole heck of a lot better than plain ol' boring Adventures In Baking.
There is a real person behind this blog. She likes to get flour and egg caked on her clothes, (Man, I should really wear an apron more often), complain about "other people's" mess ups, and spend hours adjusting the white balance and such in her photos.
What better way to convey that, than to announce it from the rooftops?

If it wasn't, then I wouldn't have ended up at an organic creamery, in downtown Santa Cruz, downing a cone full of Fig and Ricotta ice cream, in the pouring rain.
Rain + Ice Cream.
Who does that?!
It was the figs and ricotta. They made me do it. Beckoning me. Luring me in with their siren song.
Although it was not there to cause me harm.
It was good.
Too good.
So good, that it led to this.
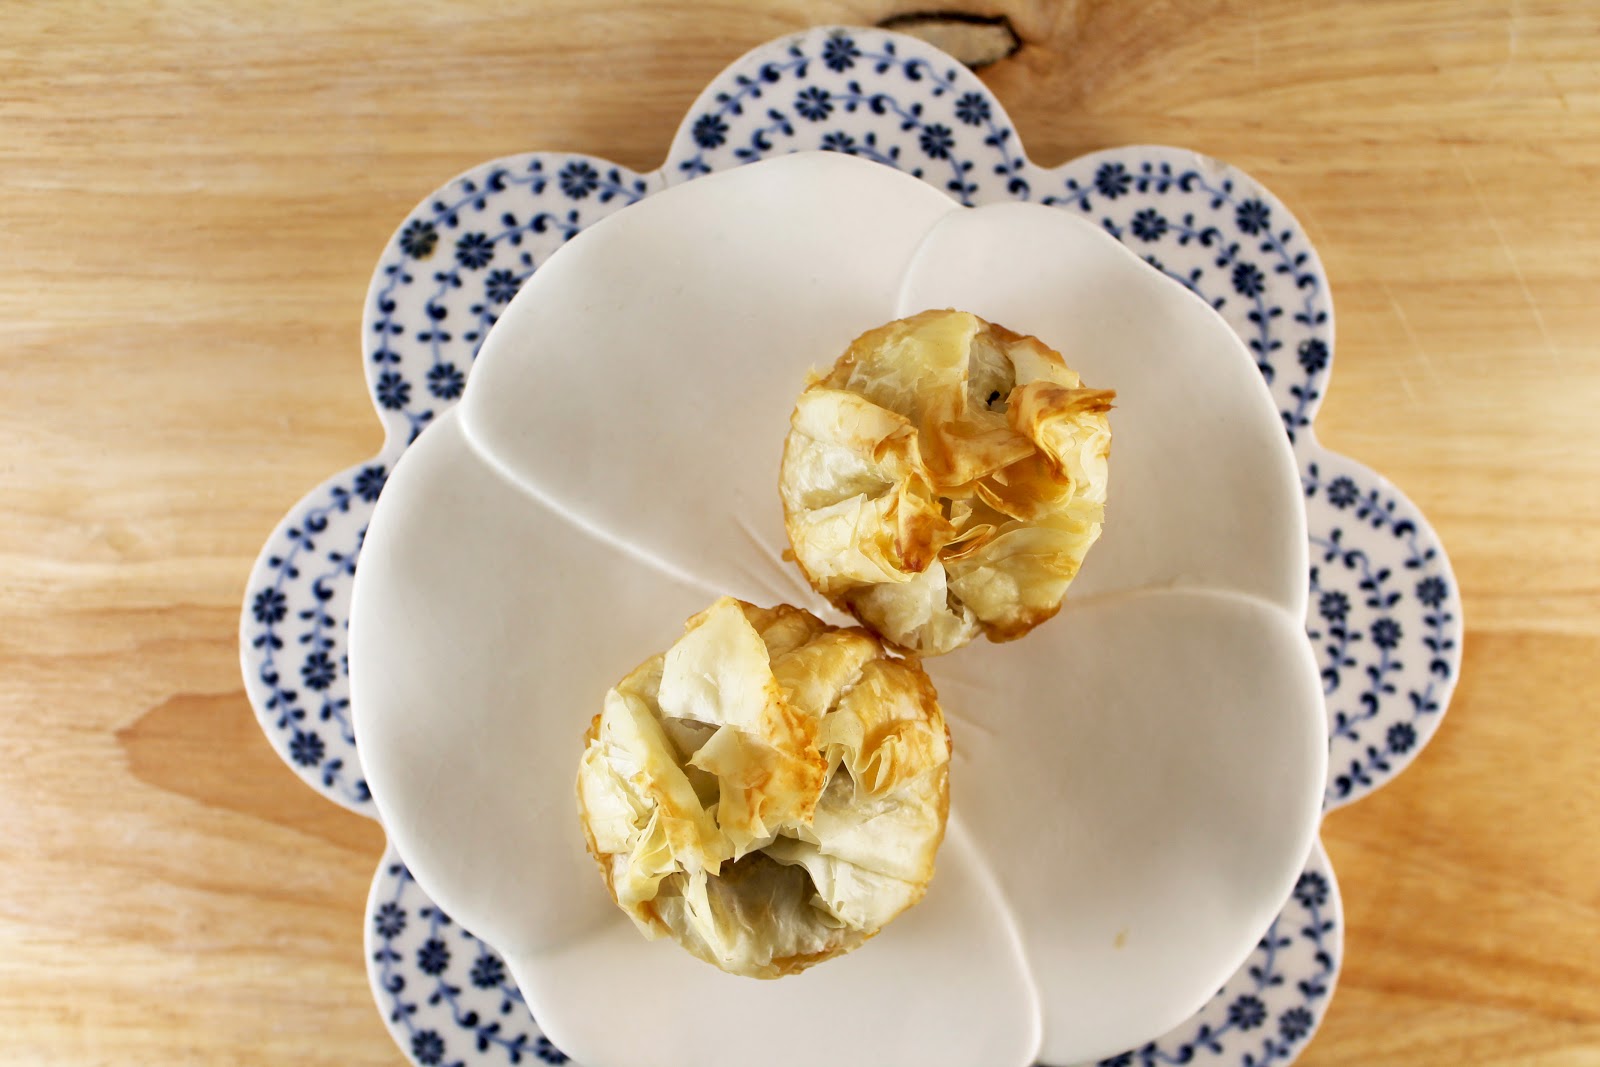
Dried figs, stuffed with honey-sweetened ricotta cheese, wrapped in honey-drizzled phyllo dough.
These are good too, but not as good as that ice cream.
So, like, when's summer? Cause I have a two ingredient ice cream to make. a.s.a.p.

Honey Ricotta Stuffed Figs
- 16 Dried Whole Figs
- 1 Cup Ricotta Cheese
- 2 Tbsp Honey (more or less to taste)
- 1 Package Phyllo Dough (found in the freezer section)
- 1/2 Stick of Butter, Melted
Makes 16 Servings (can easily be adjusted to fit your needs)
Preheat Oven to 325F

have been able to pick up a better batch of dried ones. I found these at a local produce store,
although I have also seen some at Costco and Trader Joe's (packaged in a bag, rather than a disk).
The whole point, though, is to have something big enough to cut open and stuff with cheese.

2) Phyllo dough is slightly temperamental, although not as difficult to work with as you may have read.
I came into this post knowing absolutely nothing about this stuff and I survived, so you can do it. I'm
going to create a post just on this sometime in the future. The basics of what you need to know are:
a) It's frozen, so it will need to be thawed overnight in the fridge,
b) It dries out fast, so you need to have everything else ready to go before you start working with it,
c) You need to moisten the layers with butter so they don't crack and fall apart,
d) You can refreeze anything you don't use.

3) Cheese stuffing. To be honest, I didn't really measure this out. It was about 1 Cup of ricotta cheese
to 2 Tbsp of honey. But you may need more or less depending on your taste preferences. If you
start small, you can't mess up. Just add more as needed. Stir to combine and set aside.

4) Fig Time! Arrange each fig so it is full size (in my package they were flattened to save space).
5) You'll notice there are two ends: a "flat" and a "pointy." Take some kitchen scissors (normal,
thoroughly washed, scissors work fine) and snip off just the tip of the pointy end.
6) Now cut the fig down the center leaving the flat end intact. In other words, don't cut all the way
through. We want the fig to remain in one piece.
7) Adjust the fig so you can cut across the opposite center to create a sort of "X" shape (pictured bottom
right corner). Repeat till all figs are prepared.
8) In a microwave safe bowl, melt butter. The next step is the dough, so everything needs to be set
and ready.

Grab 4 layers and wrap the rest back in the package. You may need more, but since it dries out you
can only work with one set at a time. Depending on how large your sheets are, you'll want to cut
them into approximately 4"x4" squares. Size doesn't have to be precise, just a reference. Once you
do it a few times you'll see if they need to be bigger or smaller. *Note: You will be working with the
4 layers together on top of each other, so even though there are "layers" you'll technically only be
cutting one piece/sheet.

10) Lift the top two layers off the square piece, and with a pastry/basting brush cover the remaining
layers in butter. Place the top layers diagonally over the bottom half and brush these with butter as
well. (The more butter, the more delicious. I didn't use too much here though. I kept it light).

11) With a teaspoon, spoon as much of the ricotta mixture into a fig as will fit.
12) Place fig on the prepared phyllo dough square.
13) Pinch and lift edges of dough around the fig and apply pressure to the top to close.
14) In a well greased mini-muffin pan (or a flat baking sheet) place figs one by one and the brush tops
with butter.

15) After all of the figs have been stuffed and wrapped, drizzle tops with honey. Again, here it's to
taste. The more you use, the more sweet and moist (less crispy) the dough will be.
16) Optional - dust the tops with a sprinkling of salt to help bring out the flavors.
17) If using a mini muffin tin, fill any empty slots with a small amount of water. This helps the pan to
heat evenly.
18) Cover lightly with foil. I did this so the tops wouldn't brown too quickly or burn in certain areas.
19) Cook at 325F for 15-20 minutes or until golden brown.
20) Serve warm. Leftovers can be stored in the fridge.

What will inspiration think of next?
-----
Well, how about a Facebook page?
 Never miss a post again! Plus, get extra "baking tidbits."
Like? Uh, yes please!!
Like? Uh, yes please!!
------


