
Sometimes when you go to Italy you don't lounge around Lake Como sipping an endless supply of cappuccinos.
It's true!
And sometimes you don't even get to enjoy the gorgeous villa you are staying in.

Instead, when you go to Italy, a store clerk might give you dirty looks because you buy up their entire supply of milk chocolate Novi bars. Yep, all. thirty.
Or you may offend a Pizzeria owner when someone thinks drugs are an appropriate dinner topic. Oh, yes, they do understand English. They all understand English.
You may find that a member of your family is contaminating the crisp Mediterranean air with his ...er... "their" incessant coughing.
And if those aren't surprising enough, Italian vacations sometimes involve getting lost in Milan. Because your dad may shove half of your group in a cab, tell the driver "Duomo," and let them whisk you away. Wait! Du o mo, wha?? Is that a painting? A piazza? A deep fried sandwich?

But guess what?
Italian vacations don't have to be filled with villas and cappuccinos and blissful relaxation.
I mean, that doesn't sound terrible... but...
maybe if I was basking in the lake-side air, I wouldn't've been forced to order an entire dinner in Italian by one very flirtatious waiter. Blush much?
I could have missed out on the adventure that led us to knocking on doors and tracking down the house my great-grandma grew up in.
And I probably wouldn't have been enticed by the little home-based pizzeria tucked away in the hills of Tremezzo,
where I ate an Apple and Gorgonzola Pizza.
and Panna Cotta,
made by a little Italian lady.
...an Italian lady who inspired this post.

Panna Cotta is basically the Italian version of Flan and Creme Brûlée.
A little less luxurious than the French,
And a little less "jello-y" than the Spanish,
Panna Cotta is a perfect medium between the two.
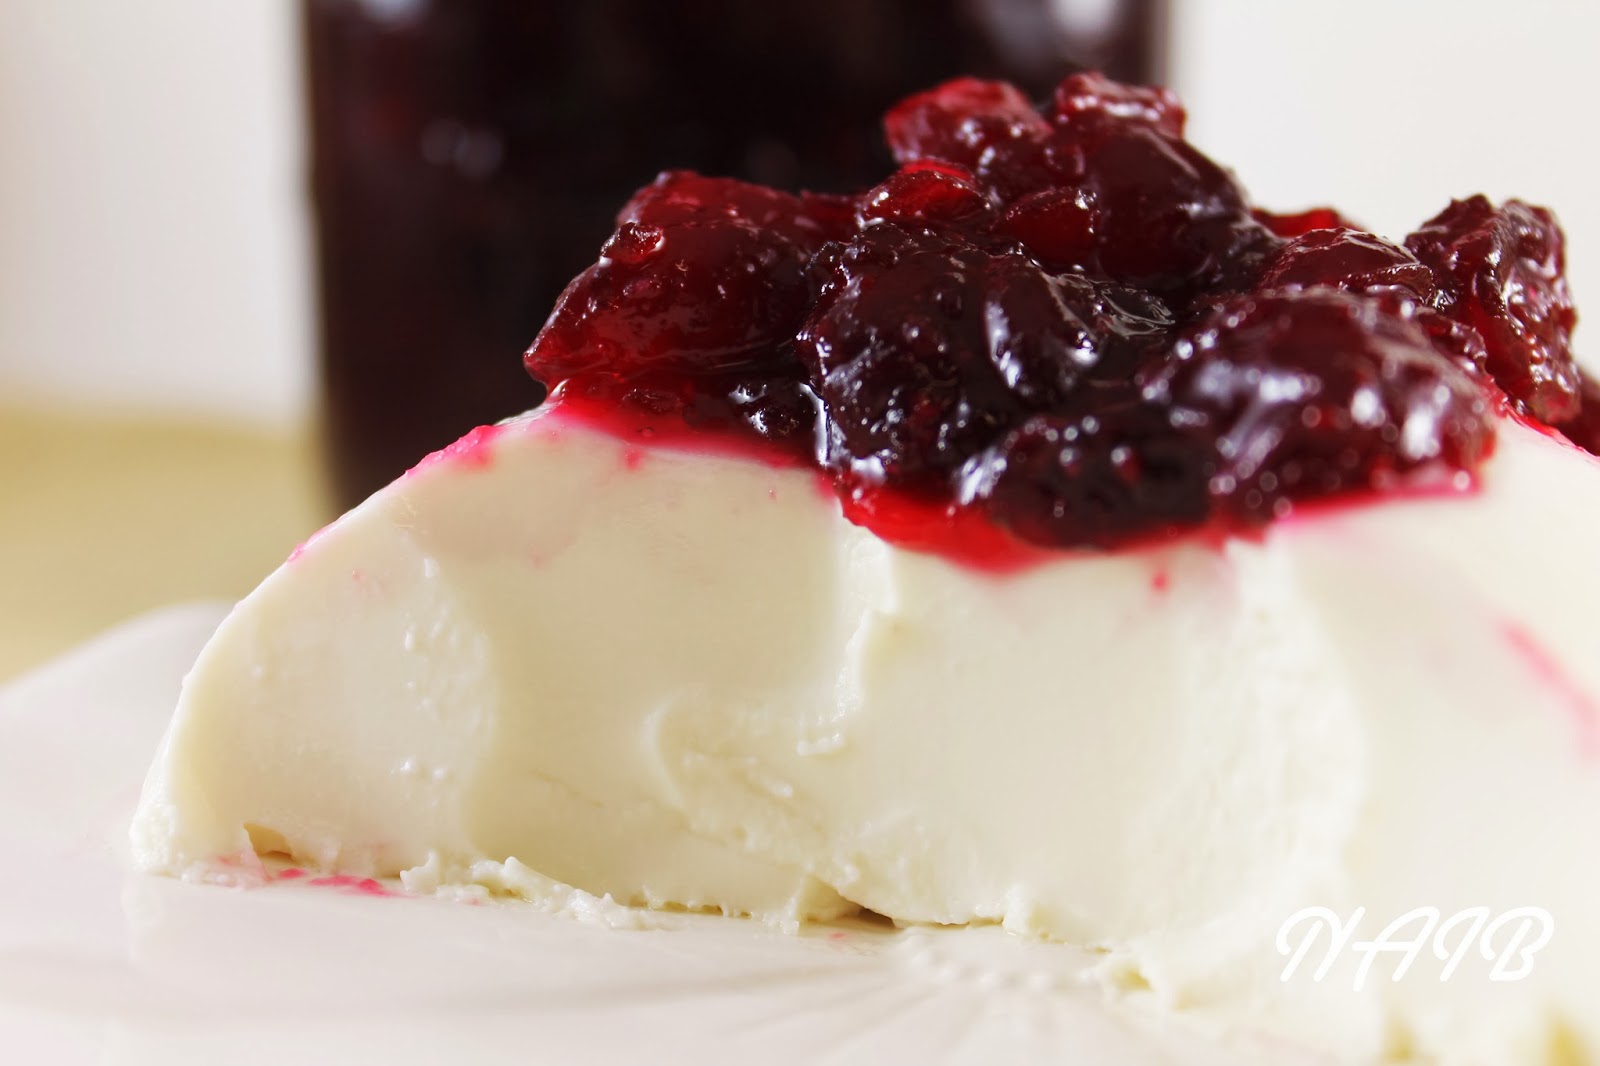
A balance of rich creaminess and refreshing texture, Panna Cotta is ridiculously easy to make anytime of year.
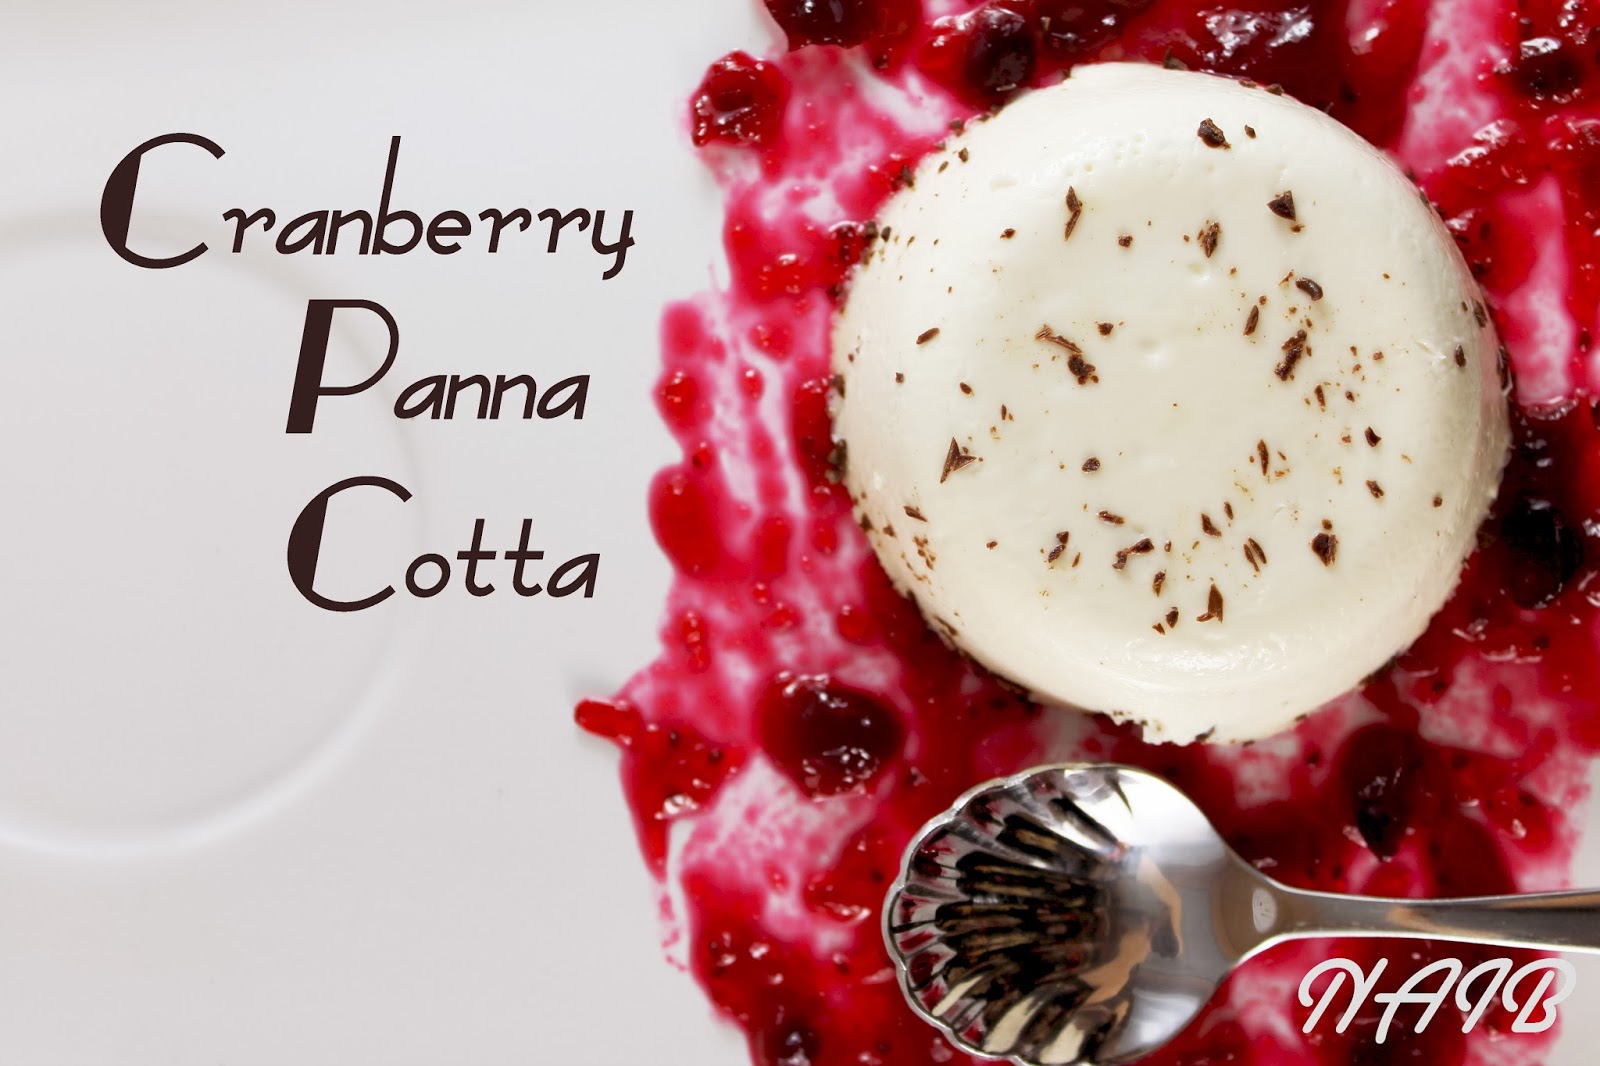
Smear it with some cranberry compote...and you're ready to ring in the holidays!

Cranberry Panna Cotta
recipes from David Lebovitz and Martha Stewart
Panna Cotta:
- 4 Cups (1 Quart) of Heavy Whipping Cream
- 1/2 Cup Sugar
- 2 tsp of Vanilla
- 2 Envelopes of Unflavored Gelatin
- 6 Tbsp of Cold Water
Cranberry Compote:
- 1 - 12 oz Bag of Whole Cranberries
- 1 Cup of Water
- 2 Cups of Sugar
**Requires 4-6 hours of refrigeration. Preferably overnight.**
Makes 8 Servings/Ramekins/Glasses

1) Heat heavy whipping cream and sugar in a large saucepan over medium heat until sugar is dissolved.
2) Once cream and sugar are warmed and mixed together add vanilla.
3) In a separate, large, heat-resistant bowl, mix packets of gelatin along with the cold water. Let mixture
set for about 5 minutes. The gelatin will absorb the water and become like a thick paste.

4) Pour warm panna cotta mixture over thickened gelatin, and stir until gelatin is completely dissolved.
5) Grease 8 ramekins/glasses/cups.
6) Divide panna cotta mixture evenly amongst the dishes. Chill the individual panna cotta's in the
refrigerator for 4-6 hours until firm (best if chilled overnight).
7) If you want to remove the panna cotta for serving, take a small sharp knife and run it along the edge
of the dish. Place dish upside down on your serving plate and let it slide out.

8) Rinse cranberries in cold water.
9) In a large saucepan, bring water and sugar to a slow boil. Stir until sugar is dissolved
10) Add cranberries to the sugar mixture and bring to a boil. Once cranberries reach a boil, reduce heat
slightly and allow berries to simmer for 10 minutes, stirring regularly. The cranberries should "pop"
and be soft to the touch.
11) Remove mixture from heat and allow to cool before serving. Store in the refrigerator for up to two
weeks in an air-tight container.
Sometimes trips to Italy are different than you expect,
But if they lead you to Panna Cotta then it's probably for the best.


