Showing posts with label Holiday. Show all posts

Thursday, December 5, 2013

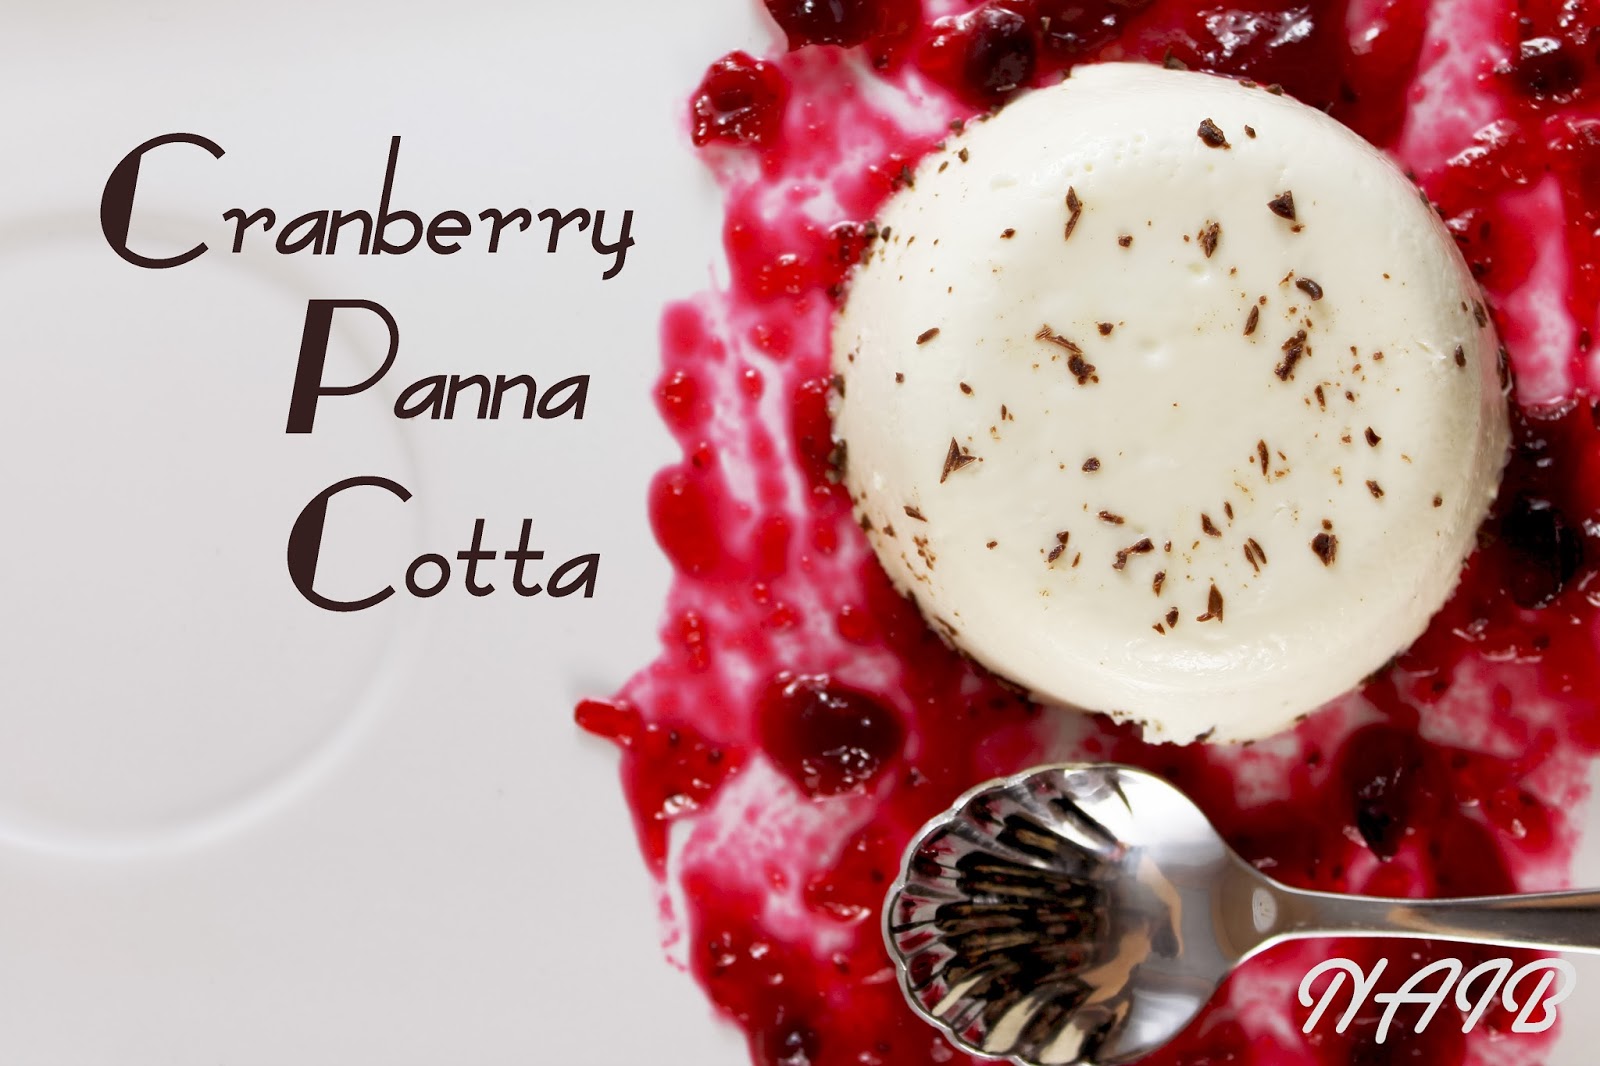
Cranberry Panna Cotta (★ ★ ★ ★ ☆)

Sometimes when you go to Italy you don't lounge around Lake Como sipping an endless supply of cappuccinos.  

It's true!

And sometimes you don't even get to enjoy the gorgeous villa you are staying in.  
Instead, when you go to Italy, a store clerk might give you dirty looks because you buy up their entire supply of milk chocolate Novi bars.  Yep, all. thirty.

Or you may offend a Pizzeria owner when someone thinks drugs are an appropriate dinner topic. Oh, yes, they do understand English.  They all understand English. 

You may find that a member of your family is contaminating the crisp Mediterranean air with his ...er... "their" incessant coughing.

And if those aren't surprising enough, Italian vacations sometimes involve getting lost in Milan.  Because your dad may shove half of your group in a cab, tell the driver "Duomo," and let them whisk you away. Wait! Du o mo, wha??  Is that a painting?  A piazza?  A deep fried sandwich?  
But guess what?

Italian vacations don't have to be filled with villas and cappuccinos and blissful relaxation.

I mean, that doesn't sound terrible...  but...

maybe if I was basking in the lake-side air, I wouldn't've been forced to order an entire dinner in Italian by one very flirtatious waiter.  Blush much? 

I could have missed out on the adventure that led us to knocking on doors and tracking down the house my great-grandma grew up in.

And I probably wouldn't have been enticed by the little home-based pizzeria tucked away in the hills of Tremezzo,

where I ate an Apple and Gorgonzola Pizza.  
and Panna Cotta,
made by a little Italian lady.  

...an Italian lady who inspired this post. 

Panna Cotta is basically the Italian version of Flan and Creme Brûlée.

A little less luxurious than the French,
And a little less "jello-y" than the Spanish,
Panna Cotta is a perfect medium between the two.

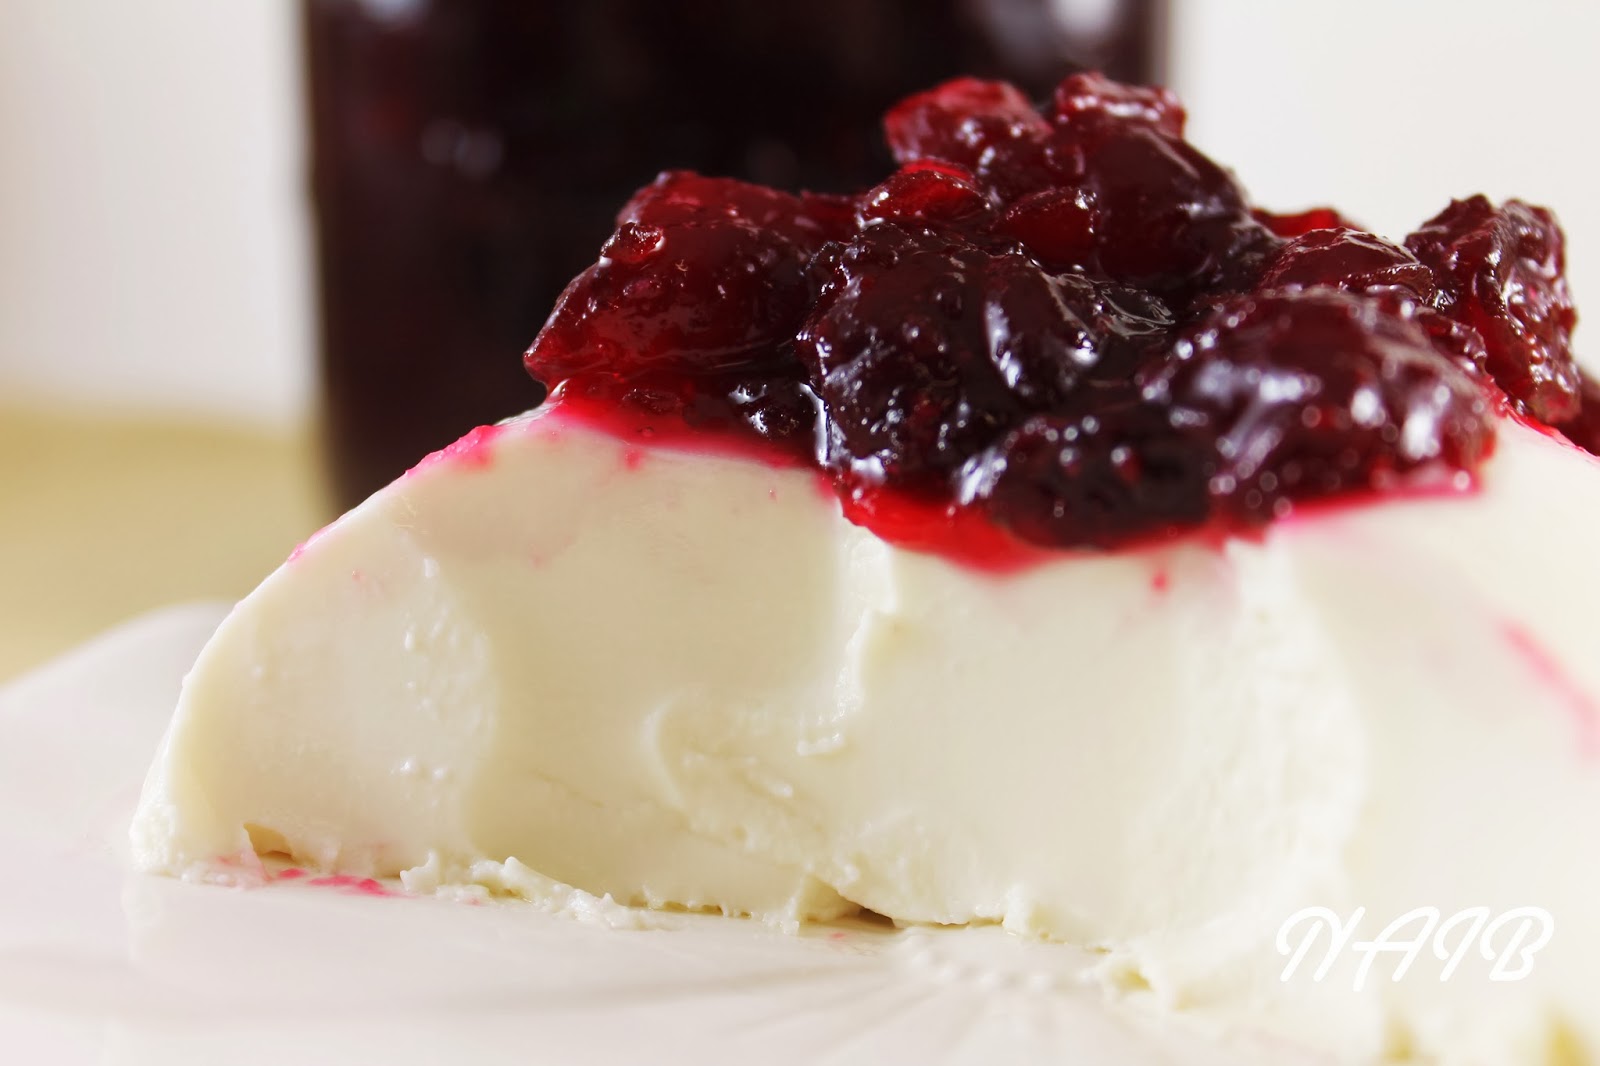
A balance of rich creaminess and refreshing texture, Panna Cotta is ridiculously easy to make anytime of year.

Smear it with some cranberry compote...and you're ready to ring in the holidays!
Cranberry Panna Cotta
recipes from David Lebovitz and Martha Stewart

Panna Cotta:
  • 4 Cups (1 Quart) of Heavy Whipping Cream
  • 1/2 Cup Sugar 
  • 2 tsp of Vanilla  
  • 2 Envelopes of Unflavored Gelatin 
  • 6 Tbsp of Cold Water

Cranberry Compote:
  • 1 - 12 oz Bag of Whole Cranberries
  • 1 Cup of Water
  • 2 Cups of Sugar

**Requires 4-6 hours of refrigeration.  Preferably overnight.**
Makes 8 Servings/Ramekins/Glasses
For Panna Cotta
1) Heat heavy whipping cream and sugar in a large saucepan over medium heat until sugar is dissolved.
2) Once cream and sugar are warmed and mixed together add vanilla.
3) In a separate, large, heat-resistant bowl, mix packets of gelatin along with the cold water. Let mixture
    set for about 5 minutes.  The gelatin will absorb the water and become like a thick paste.

4) Pour warm panna cotta mixture over thickened gelatin, and stir until gelatin is completely dissolved. 
5) Grease 8 ramekins/glasses/cups.
6) Divide panna cotta mixture evenly amongst the dishes. Chill the individual panna cotta's in the 
    refrigerator for 4-6 hours until firm (best if chilled overnight).
7) If you want to remove the panna cotta for serving, take a small sharp knife and run it along the edge 
    of the dish.  Place dish upside down on your serving plate and let it slide out.
For Cranberry Compote:
8) Rinse cranberries in cold water.
9) In a large saucepan, bring water and sugar to a slow boil.  Stir until sugar is dissolved
10) Add cranberries to the sugar mixture and bring to a boil.  Once cranberries reach a boil, reduce heat
      slightly and allow berries to simmer for 10 minutes, stirring regularly. The cranberries should "pop"
      and be soft to the touch.
11) Remove mixture from heat and allow to cool before serving.  Store in the refrigerator for up to two
      weeks in an air-tight container.
Sometimes trips to Italy are different than you expect,
But if they lead you to Panna Cotta then it's probably for the best.


Monday, December 24, 2012

Coconut Macaroons (★ ★ ★ ☆ ☆)


Today you are witnessing a seasonal miracle.  

Not only because this post happened at all (anyone else feel like they've relocated to the mall this month?  Hey, at least it's rent free!), but because these cookies fixed themselves...overnight. 

You were about to read, yet another "fail" post.

You were going to hear less about cookies an more about my adorable sister.  (It's her bday!  And you are still going to hear about her...because she's awesome!)

You were about to suffer through my spiel on how I made the wrong decision in the whole "egg whites vs. sweetened condensed milk" debate.

But not anymore.

Because after many...MANY...last minute additions and "tweaks" to salvage a poorly composed recipe, these turned out pretty dang good.  
You may not even like coconut.

That's okay.  Because I don't either.

So don't think of these as "coconut."

I agree, coconut is yucky.

It's slightly foamy and has the texture of hair. 

But that's before it is toasted to crispy perfection and smothered in chocolate.

Trust me.  If I can be won over.

So can you.
My sister made these several years back because she is a Co. Co. Nut. Fa. Na. Tic.

And I tentatively tasted one out of sisterly duty.  
But man, oh man.  

Flavor-wise.  Texture-wise.  These were A++ in this coconut haters book. 

And this week, was my amazing sister's birthday.

She's the type of sister everyone should have.

She gets giddy over the same things.  Disneyland at Christmas?  25th Anniversary of Phantom of the Opera?
She shares the same curly hair.  Swapping war stories. 
And anytime there's an awesome song that begs to be sung in harmony, I know who to call.  Ah, back before Glee turned to crap, she took all the Lea Micheles and I tackled the Idina Menzels.

So maybe these things don't seem all that exciting to you, but just imagine having someone get you in all the weird ways nobody else does.  

Clearly, macaroons were in order. 

Only problem.  
We couldn't track down that original recipe anywhere. 
So began the long journey through research and trial and error.

In the end it came down to one pivotal question:

To use sweetened condensed milk or to use egg yolks?

After much deliberation, meditation, and constructing pro/con lists, I decided the promise of chewy cookies was too enticing and went the milk route. 

But then I found Paula Deen.
And she used both.

Like a boss.
But I don't know what the heck she was smokin' at the time of this recipe's inception, but something here was off...way off.

My first batch was basically cooked sweetened condensed milk.

Not what I was going for at all.

I want a mouthful of coconut, not gooey sticky sweetness.

To each batch, I added progressively more and more coconut...until I was completely out.

But by that time I had tasted so many of these that the last thing I ever wanted to taste again was one of my coconut macaroons.

I wrapped them up, went to bed, and hoped my sister's love for coconut was deep.

But then something amazing happened.

I am convinced I was visited by some Christmas Elves.  The same ones that came to help that old shoemaker.  Remember them?  Ya, we're like totally buds now.

Anywho.  The next day, I was prepping them for pictures when I decided to absentmindedly pop one in my mouth.  

Glory, Hallelujah!  
These were yummy!

The chocolate, the coconutty crunch, it was all there.

It don't know if it was elves,
Or time needed for the flavors to meld,
Or air needed to dry them out a little bit,
Or, you know, elves...

But it was a Christmas, Seasonal, Birthday, Extravaganza miracle.

-----

Below is my "adjusted" recipe.
Coconut Macaroons
adapted from Paula Deen: The Food Network

1 - 14 oz Bag (6 Cups) Flaked Coconut
1 - 14 oz Can (1 Cup) of Sweetened Condensed Milk
1 tsp Vanilla Extract
1/4 tsp Salt
2 Egg Whites
1 1/2 tsp Cream of Tartar
2 Cups of Chocolate Chips
1 Cup of White Chocolate Chips
Sprinkles (optional)
Parchment Paper

Preheat Oven to 325F
Bake 12-16 Minutes
Makes Approx. 30 cookies
How to Tint Coconut:
1) In a ziploc bag, add about 7 drops of desired food coloring.
2) Seal bag and give a good shake.
3) Add coconut.  Seal.  Shake.
4) Add more color as needed.  If you are just doing one color, then you can do this right beforehand.
    However, if you want to do two colors then you need to do this leaving plenty of time for the
    coconut to dry thoroughly.  I'm thinking overnight.  Or else you'll get purple coconut
    macaroons...like me. :)
Cookies:
1) Preheat oven to 325F degrees
2) To speed up the egg white process (you will beat them still stiff), stick a medium sized bowl in the
    freezer.  The egg whites need to be cold when whipped so to start off with a cold bowl helps.
3) In the meantime, you can mix coconut, sweetened condensed milk, vanilla, and salt in another bowl.
    Stir until well coated.
4) Take bowl out of freezer and add egg whites.  Beat until they form stiff peaks.  It'll be a few minutes.
    Be patient. To test, press beaters into eggs and pull up.  They should be firm and not runny.
5) Fold egg whites into the coconut mixture, until just combined.
6) Drop teaspoon fulls of coconut batter onto a greased baking sheet about an inch apart. You may 
    need to form them a little with your hand after dropping on cooking sheet as they tend to spread.
7) Bake for 12-16 minutes, until the coconut on the outside starts to turn golden-brown.
8) Take cookies out of the oven, and let them sit for 1 minute before placing them on a cooking rack.

Chocolate Dip:
1) Start with cookies that are thoroughly cooled.
2) In a microwave safe bowl, heat chocolate chips in 30 second increments until melted.  Stir well 
    between each heating.
3) Dip the bottom of each cookie into the bowl, scrape off any excess with a spoon and place on 
    parchment paper to cool.
4) Melt white chocolate in a similar fashion.  Transfer to a ziploc bag and cut a small piece out of one of 
    the corners.  Drizzle the tops as desired.
5) These will cool and harden on their own, but to speed up the process you can place in the 
    refrigerator. 
6) If you are going to use sprinkles, use before chocolate dries.  You can sprinkle them over the top, or 
    dip the bottoms into them. 
And the biggest miracle is that I only ate three, before remembering these were someone's present.
Happy Birthday Sister!


-----

And A Very Merry Christmas to you all!!


Thursday, December 6, 2012

Gingersnap Magic Cookie Bars (★ ★ ★ ★ ☆)


Why don't you go ahead and settle in, grab your morning coffee,  because I want to tell you a little story.

A little story called "Why My House Isn't Safe For Magic Cookie Bars: Or Anything With Copious Amounts of Sugar."

So the title's a little excessive.
But it's my story.
And I think it's perfect.

I honestly contemplated changing the names in this because my family might kill me, but where's the fun in that?

Plus, after reading about Person 1, Person 2, Person 1 again, then Person 3...you're just going to get all confusl'd.

So since I'm going there, let's just lay it all out right now.

Mom,
          Dad,
                  Bestie

Prepare to be famous.

Brother - You are safe.  You don't like coconut.
So I'm baking Monday night, pretty much the usj.

Nothing too interesting there.  Except that everyone was home.  [Dun, dun, dun, duuuuuuuuun].
I'm used to having the house to myself on baking nights.  Just me, an iPod, and an electric mixer.

See when you are alone there are baking pros and cons.

The Cons.

  • You are lonely

That's it.

The Pros.

  • You are lonely so you can focus and do your best baking.
  • You are lonely so you get to listen to your music as loud as you want (and dance around while belting out Mariah Carey Christmas songs into a wooden spoon.  Not that I do that...just the "option" is there).
  • You are alone so you can tweak any recipe to your heart's content.
  • You are alone so you can taste test something fresh from the oven without swarms of "sugar deprived" eyes glaring back at you.  

Three hungry people, one blogger.
There's bound to be conflicts of interest.

Bloggers have a different mindset.
We don't bake to eat.
Well, ultimately we do, but not before our desserts have paid their dues.
Prepping, styling, photo shoots, etc.

Much to the chagrin of my family members.

---

So back to the story.  I take the bars from the oven.  Not two minutes after I settle down to watch a Christmas movie, do I hear the terrifying sound of a knife slicing into melted chocolate and toasted coconut shreds.

Bakers can totally hear that kind of stuff. 

Now, I'm not against sharing.  I understand I have infused the house with an irresistable aroma. But I worked hard on those cookie bars.  The idea.  The shopping.  The baking.  The documenting.  After all is said and done every post costs me about 8 hours of free time...so I'm none too thrilled by the sound of my hard work about to be mutilated at the hand of someone other than me.

Me: "Nope." 
Dad: "You serious?"
Me: "Yep."
Dad: [Insert crazy pout.  Like I just told him I think going to college is a waste of time.]

Sure he's my dad.  He's only sacrificed everything for me.  But I still like to have the final say in what happens to my baked goods...and when.  Call it my controlling "vice," but I'm not ready to give it up. 

Twenty minutes later, after the cookie bars had cooled the "proper" amount of time, it was time to slice and share.  But only a taste, because these babies still had work to do.

Mom and Bestie were beside themselves and promptly consumed their share.
But Dad, nope.  He was good.  The moment had past.  
On his terms, or no terms.  Like Father, Like Daughter.  

Suddenly, an even bigger dilemma than I could have ever predicted arose - There was one piece and two willing participants.  

I mean the obvious, reasonable thing to do would be to share, right?
And that's what happened.

Until my Mom convinced Bestie to refrigerate the "precious" morsel because it would "taste better."  I walked into this:

Mom: "I'm so sorry.  I ate the whole piece.  I couldn't stop myself."
Bestie: [Insert Stunned Silence.  Cue welling of tears.]
Mom: "When Natalie goes to bed, I'll cut you another one."
Bestie: "Wait.  You really ate the whole thing?"
ME: "Excuuuse me?"
Mom: "No, I'm just kidding. I only moved it to the door."
Bestie: [Insert pent up chuckle].
ME: "...Uh, what was that about me going to sleep?"  

No joke, totally had a nightmare that I woke up to find 4 measly pieces.
Me: "What the heck happened?!"
Mom: "I'm so sorry.  They were just so good!"
Me: "I still had to take pictures!!"

I breathed a sigh of relief when I found the pan safe and sound, pristinely wrapped on the counter in the morning.  But did that stop me from hiding that dish in the tupperware cupboard?  

No.  
No, it did not.  
Gingersnap Magic Cookie Bars
adapted from Love from the Oven

1 Stick of Butter (1/2 Cup)
1 1/2 Cup Gingersnap Crumbs
1 - 14 oz. Can Sweetened Condensed Milk
2 Cups Nestle Holiday Chips (or 1 Cup Semi-Sweet and 1 Cup White)
1 Cup Chopped Walnuts (Pecans work well too)
1 1/3 Cup Flaked Coconut

Needed: 9 x 13in Pan
Preheat Oven to 325F Degrees
Cook for 25-35 Min
Makes Approx. 24 Bars

1) Crush gingersnaps into fine crumbs.  I used a meat tenderizer and a coffee grinder to finish up the 
    job.
2) Preheat oven to 325F Degrees.  Place cube of butter in 9 x 13in pan and place in oven to melt while 
    preheating.  Check every few minutes to make sure it is melting and not getting burned.
3) In the meantime, chop up a cup of nuts.
*Suggestion: I LOVE crust.  And I found this recipe to be a little on the thinner side.  What I would 
                      do next time is increase the butter to 1 1/2 cubes and double the cookie crumbs.  Or do 
                      1 Cup Gingersnaps, 1 Cup Graham Crackers.  Grahams are a lot sweeter and less spicy.  
4) Once butter is melted, remove from oven and place on heat safe surface.  Sprinkle cookie crumbs 
    evenly over the butter and gently pat down with the back of a spoon.  Make sure the entire bottom 
    surface is covered.
5) Pour can of condensed milk over the crust layer.
6) Next add 3/4 Cup Nuts, and 1 1/2 Cup Chocolate Chips (saving some for the very top layer).
7) Sprinkle the coconut evenly over the nuts and chocolate.  Pat down gently.
8) Top with remaining nuts and chocolate chips.
*Suggestion: I've made these before and "pre" toasted the coconut.  I wish I had done that this time.  I 
                       love the toasty smell and taste of the coconut after it's been baked for awhile. If you want 
                       to pre-toast the coconut, line a baking sheet with foil and spread the coconut thinly 
                       across.  At 350F, bake for no more than 5 mins.  Watch carefully that these do not burn.  
                       You want to see the edges of the flakes just beginning to darken. 
9) Bake for 25-35 minutes.  Top should be slightly browned.  Remove from oven and place on cooling 
    rack.  Allow to cool completely before cutting and serving. 
Do not think me cruel. After these pictures, my family had their fill.  
All Tuesday night, they ate to their hearts content.
Then came Wednesday. And I brought the rest to work.
So Bestie cried.  

Oh geeze. 


Thursday, November 29, 2012

Simple Peppermint Bark (★ ★ ★ ★ ☆)

Today I'd like to talk about experimentation and making assumptions.

Because apparently, I have a major problem with both.  

Apparently, I think I'm the Baking Queen of the Universe.  
And that everything that develops in my pretty little head is sure to emerge from the oven to the sound of an angel's chorus.

And apparently, I assumed I knew enough baking basics to be able to double up a batch of brownies by simply adjusting the temperature and time.

Apparently, I was wrong. 
Here are just some of the sad pictures I took of the "Peppermint Bark Brownies," I concocted this week.
1) The obligatory "ingredients" shot
2) The artsy "look at my cool photo skills" shot of crushed candy cane pieces
3) The anticipatory "pre-oven" shot
4) The "I'm-such-a-dork-for-taking-all-of-these-photos-and-seriously-having-no-reservations-about-
    baking-two-batches-of-brownies-in-one-pan-or-mixing-up-a-mint-cream-cheese-layer-that-was-
    suspiciously-watery" photo

Needless to say, they did not turn out.

Unless, you consider a rock hard burned "crust" layer, an overly browned "cream" layer, and a goopey, soupy center, a delectable treat.

That'd be like that Gilmore Girls episode where Luke brings Lorelai a batch of brownies that he accidentally dumped triple the amount of cocoa in because he knew only she possessed such a superhuman chocolate tolerance...that, and he wanted her to let his punk nephew study with her angelic daughter...oh, ya, and he was secretly in love with her.

Ya, just like that.
Only not at all.
I'm just obsessed with the Gilmore Girls.

And with Peppermint Bark.
So obsessed that when my original idea failed, I switched to the tried and true.  

Simple.  Easy.  Plain ole'.  Peppermint Bark.

And ate half the sheet by myself.  In two days.  
Simple Peppermint Bark
adapted from Savory Sweet Life

1 Cup Chocolate Chips
1/2 tsp Peppermint extract
1 Cup White Chocolate Chips
3 Candy Canes, crushed

Makes one small 7x11 pan (Double the recipe for a 9x13)
Parchment or wax paper for lining the pan
Approx. 40 Minutes Chill Time
 1) In a microwave safe bowl, heat 1 cup of semi-sweet chocolate chips in 30 second increments.  Stir
     well between heatings.  You want them to be just melted, not boiling hot.
2) Add 1/2 tsp of peppermint extract, stir well.
3) Line pan with parchment paper and spread chocolate evenly into the bottom.
*Tip: You can spray a spatula with Cooking Spray to keep the chocolate from sticking.
Note: I did not line my pan with parchment paper.  I paid the price.  Assumption #348: "I can make
          simple peppermint bark without thoroughly reading through the recipe."  Getting peppermint
          bark out of a greased-only pan has a 76% success rate.  Get parchment paper, wax paper, I don't
          care!  Line. that. sucker.
4) Place in the freezer for about 15 minutes.
5) In a ziploc bag, crush candy canes into very small pieces.  A meat tenderizer works well.
6) Heat 1 cup of white chocolate chips in the same manner as before and spread on top of the slightly 
    hardened chocolate layer.  Spread quickly as the bottom layer will begin melting and mixing.  
7) Sprinkle crushed candy cane pieces across the top and lightly press down to make sure they get in 
    the chocolate.  Do this quickly.  You'd be surprised how soon some areas harden because the pan 
    is cold.
8) Place pan in the freezer until completely set.  At least 30 minutes.
9) Once set, take the parchment paper out of the pan and peel off of the bark.  Break into pieces using a 
    large knife.  
 Because before you can build a fire, you learn to light a match.
And before you make boxed brownies you...
Oh.  Wow.  

Blame it on the hah hah hah hah hah holidays?