But sadly, there were car fuzzies everywhere.
The End
---
Uh... ya....
This story is sort of a tragedy.
So instead of just ending on a sad note, I thought I'd put the ending out there so you can brace yourself and not cry hysterically or anything like I did at the end of "500 Days of Summer."
Yes, I know there was a disclaimer at the beginning of the movie! That's what I get for blogging and movie-ing at the same time. It took me 20 minutes to realize that the Bachelorette actually ended up with someone this season - I have a problem.
But not all was lost. I learned a lesson.
Remember that goody - "Pride cometh beforeth the falleth?"
Oh ya, we're going there.
And it's about to get good.

As with many things in life - it all started with a "spark."
You see there was this cake - an orange cake. It was getting ALL kinds of online love. Features, comments, pins - you name it.
It seemed like everywhere I went on the blogosphere that week - I was haunted by this orange cake.
The Cake From Where It All Began:

Now don't get me wrong - I'm a fan of orange and an even bigger fan of "easy," but I was dumbfounded to realize that what everybody was raving about was just so normal... so simple.
And that's the moment the dark seed took root.
"I can do that."
It became my presumptuous mission to become the toast of the blogs, the bees knees. If an easy orange cake can do it...then I most definitely could.
You guys like orange, right? Obviously.
And something that doesn't require frosting? Boom - frosting on the ground!
Since I can't be a total copycat, instead of "simple" why don't we go with "classic?" Upside down cake.
Then make it totes unique? Mini-size 'em.
The stage was set.
The ingredients prepped.
And honestly, I worked my magic.

My evil plan was working. Assuredly, my cupcakes would be the buzz of the week.
My friends and family drooled over them. My brother who only eats my desserts if they are chocolate, begged for more.
Oh, I done good.
And that's when it happened...
I had carefully pack several away to bring to work.
Because the praises of family and friends can't be trusted. They love me, you know?
But co-workers. Co-workers have no obligation to boost my ego. They can just as easily grab a cupcake, take a bite, and toss it in the trash. No harm, no foul.
It was there that I would finally reign. And my induction into the "Lauded Bakers of the Blogosphere" would be imminent.

Before I couldn't find a container with a lid,
Before I had to slam on my brakes,
Before the treats I had so lovingly crafted, pummeled one by one to the floor...
...of my car.
My dreams crushed.
Replaced by smooshed cupcakes coated in car fuzzies.
-----
I learned a valuable lesson that day.
Baking isn't about winning praise.
It's about enjoying the process.
It isn't about sugar and butter.
Baking is about sharing and bringing people closer.
Oh, who am I kidding? It totally is!
But I also know that giving way to the cockiness within -- always ends badly. I'm just lucky this time my penance was pieces of carpet.

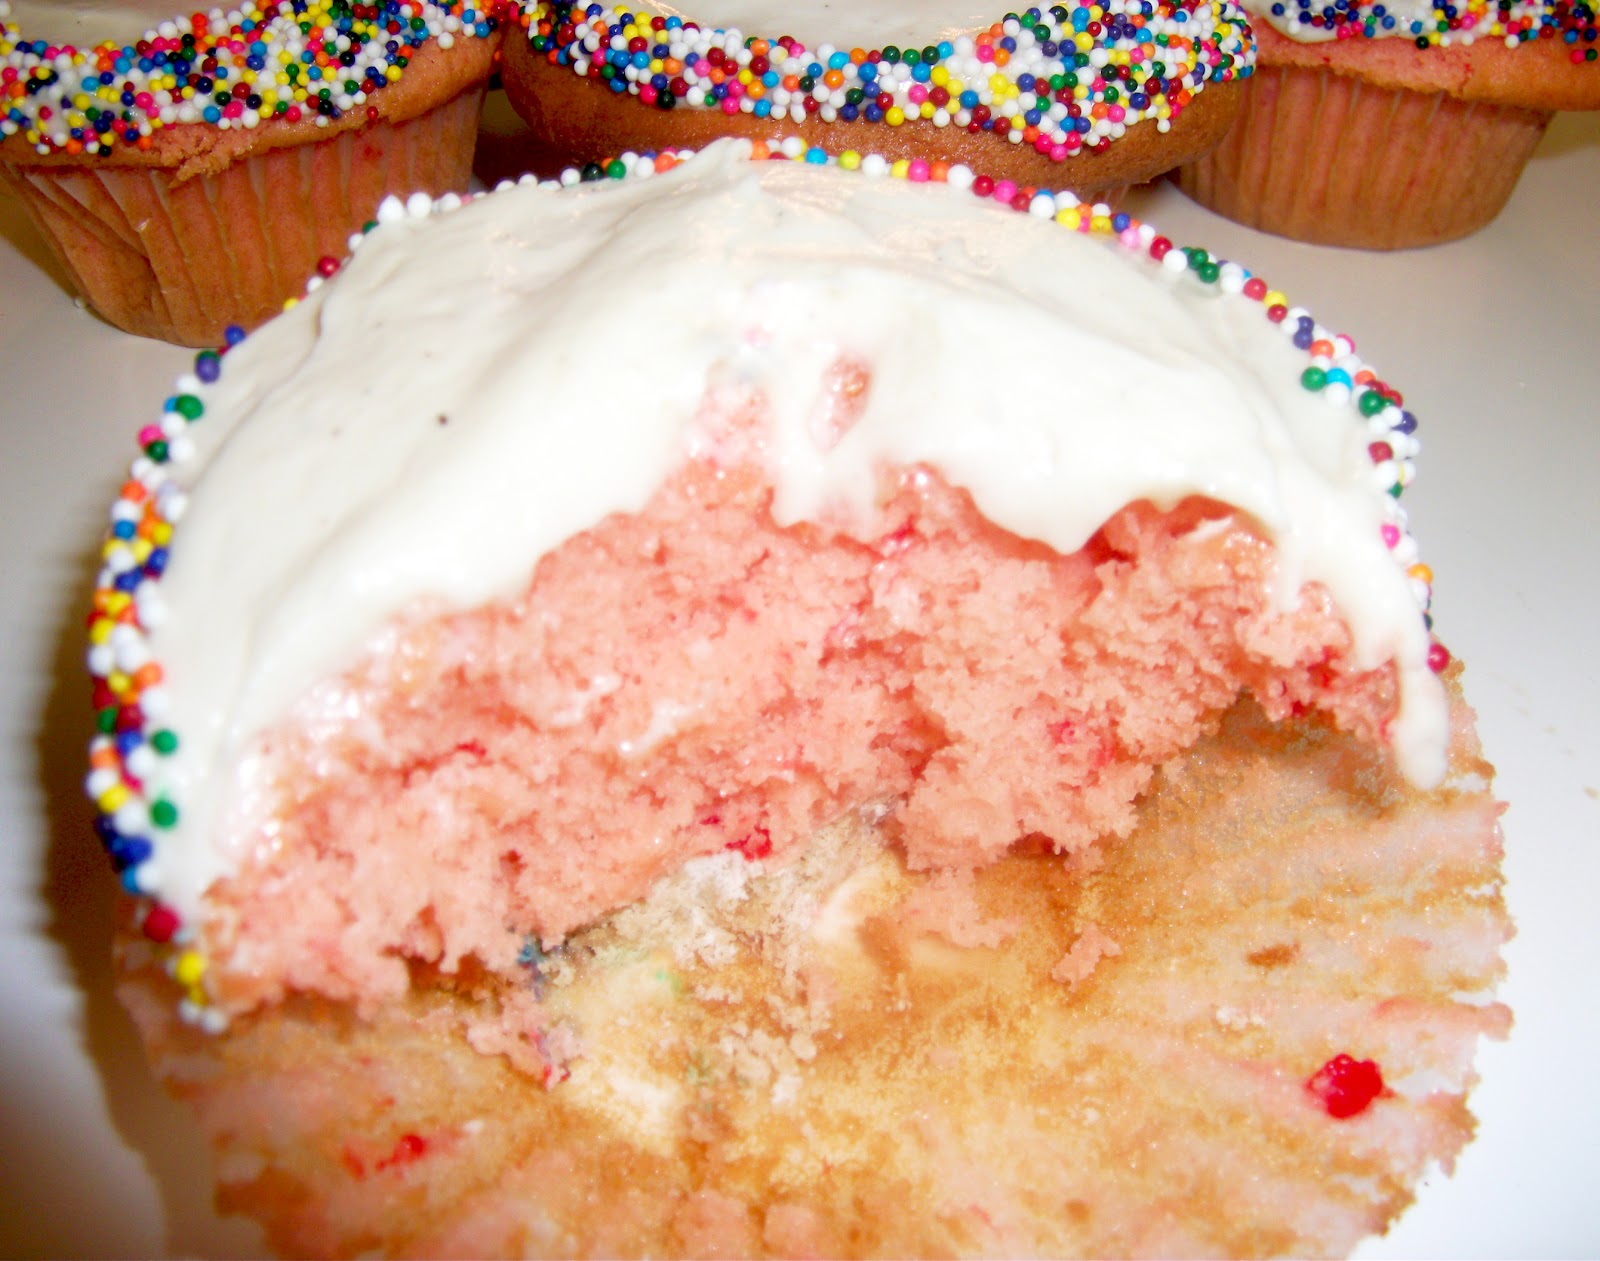
Orange Upside Down Cupcakes
used Sallys Baking Addiction as my starting point
- 3 1/2 Cup Flour
- 1 tsp Baking Powder
- 1/2 tsp Baking soda
- 1 Cup (2 Sticks) of Butter, melted
- 2 Cups Brown Sugar
- 2 Eggs
- 1/2 Cup Plain Greek Yogurt (Or Sour Cream)
- 3/4 Cup Milk
- 1 Cup Orange Juice
- 4 tsp Vanilla
- 2/3 Cups Butter [for cupcake tops]
- 1 Cup Brown Sugar [for cupcake tops]
- 3-4 Small Oranges, cut into 24 thin slices and peeled
- 24 Cupcake Liners
Preheat Oven to 375F after baking for 7min lower to 350F
Bake for 15-20 minutes

1) In a small bowl, mix together flour, baking soda, and baking powder.
2) In a small microwave safe bowl, microwave 1 Cup (2 sticks) butter in 30 sec increments until melted.
Stirring in-between each heating.
3) Transfer melted butter into a medium sized bowl. Add 2 Cups brown sugar and beat until combined.

5) Slowly add flour mixture to batter. Once combined batter will be very thick. Which makes it super
easy to spoon into the cupcake tin. Yeah!
6) Because I needed the tops to slide out very easily, but I didn't want to have to eat these out of a
cupcake liner, I totally stole this idea from Glorious Treats. Fold the liners in half and cut a small half
moon out of the bottom. This will be just enough to cover the bottom of each of the muffin slots.
7) Butter or spray the heck out off the muffin tin and then line with the cut cupcake liners.

8) In a small microwave bowl, melt 2/3 cups of butter and stir in 1 Cup brown sugar.
9) Drop in 1/2 Tbsp of this mixture into each liner.
10) Cut oranges into very thin slices - you need 24 total.

you'd like to peel the whole orange first and then slice it that might work as long as you have a very
sharp knife.
12) Next slit an opening in the slice, so you can easily wrap it into the bottom of a cupcake slot. If you
have more time cutting the slice into little "pie" pieces and placing them into the cupcake liner
individually will make it easier to eat.
13) Press orange slice down so it gets immersed in the brown sugar and butter.

temperature to 350F. Bake for another 8-13 minutes until a toothpick inserted in the center comes
out clean.
15) Let cupcakes cool on a rack for a few minutes, then flip upside down and let cupcakes slide out. If
some seem stuck, carefully tap the tops of the cupcake tin to get them to fall out.

makes enough for 24 cupcakes
- 2 Cups of Heavy Whipping Cream
- 2/3 Cup of Powdered Sugar
- 2 Tbsp of Vanilla Bean Paste (or Vanilla Extract)
- 2 tsp Unflavored Gelatin
1) Tip: But medium sized bowl in the freezer for about 10 minutes beforehand. It helps the cream to
whip up faster. Side Note: the gelatin helps the whipped cream to keep it's form and not to become
a runny, puddly mess.
a runny, puddly mess.
2) Beat whipped cream until stiff peaks form. Add powdered sugar (more or less to taste), vanilla, and
gelatin. Beat until combined.
3) Store in fridge if not using immediately.

*Disclaimer* - While the events in this post are true, they may have been exaggerated for story telling purposes only. I happen to really like orange in desserts and I get inspired by other blogs like twenty times a day!